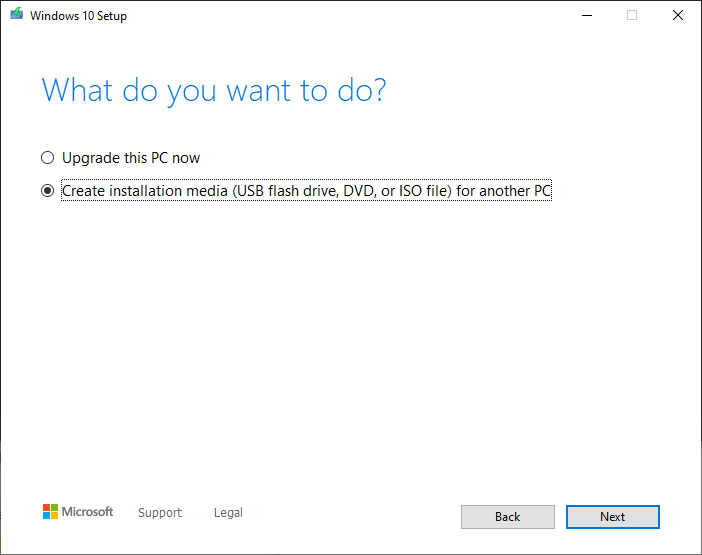
Download Windows 10 or 11 ISO from the links above. Choose either Media Creation Tool or ISO image (depending on whichever is available). If you chose to download ISO image directly from the website, then go ahead to the section where procedure with Rufus begins; if you chose Media Creation Tool, then open the downloaded executable file, open it and proceed with the option Create installation media:
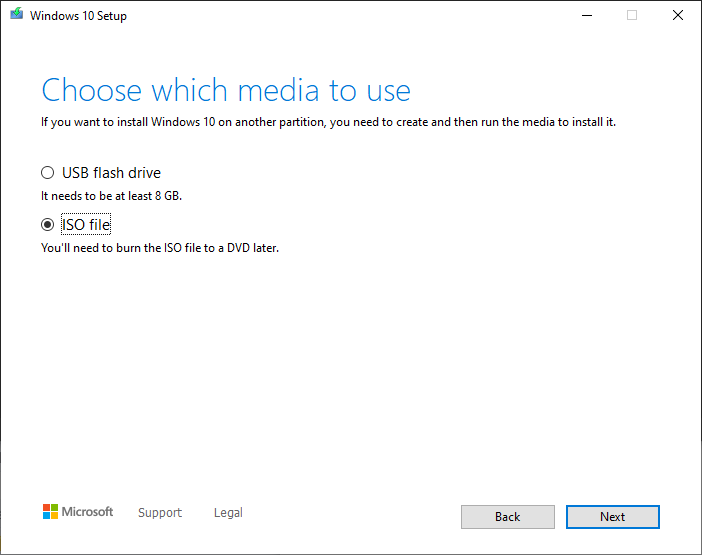
Then, choose ISO file, which you will have to save in a familiar place. We will need it later.
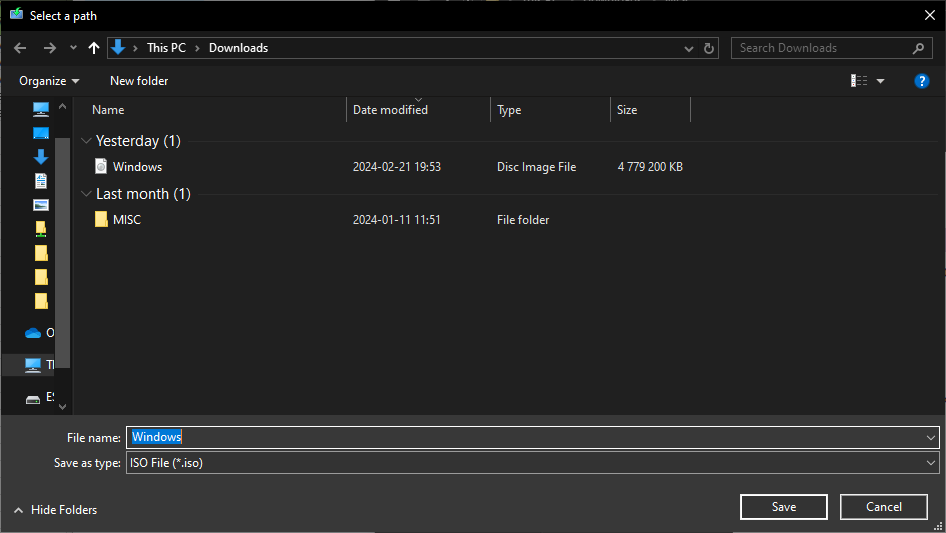
After downloading, generating an ISO image and saving it in your pre-determined place, you may close the Media Creation Tool and move on to using Rufus.
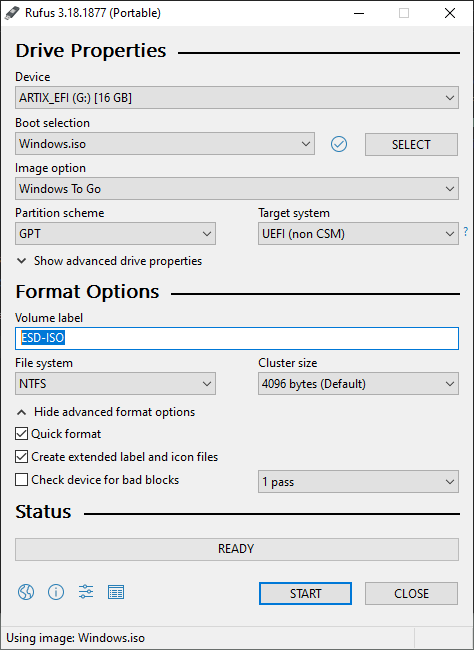
Download Rufus (link above) utility, which we will use for creating a bootable external drive. You can download either a portable or a standalone version - portable doesn't require you to install the program, while standalone does. Once downloaded, open rufus-xx.xx.exe file (xx for a different version; as of writing this article it's 4.5). It should open up a window like this:
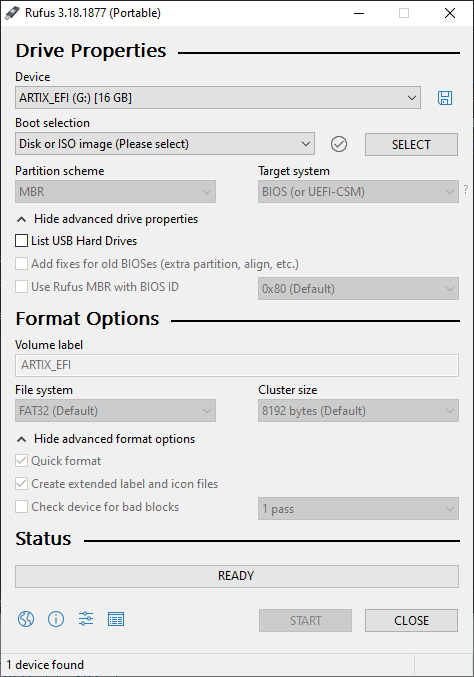
Notice the field "Device" - it should show the available USB or external bootable drive(s). In my case, it's ARTIX_EFI. Click on "SELECT" button and choose the ISO image that you've downloaded. A new field will appear named "Image option" - there, choose Windows To Go. After that, you may choose to rename the Volume label to your desire, but it is not necessary.
Now you're set to go! Click on "START" - a pop-up window will appear asking which version of Windows you would like to install. Choose whichever you'd like (Professional version recommended for most features) and wait until the ISO is burned into the drive.
When the burning process finishes, you may restart your computer into UEFI/BIOS or your computer's boot menu. On instructions how to do that it is recommended to consult your machine's manual or manufacturer's website. Windows Out-of-the-Box-Experience (OOBE) window should appear, where you may finish setting up your region, language, network and other settings.